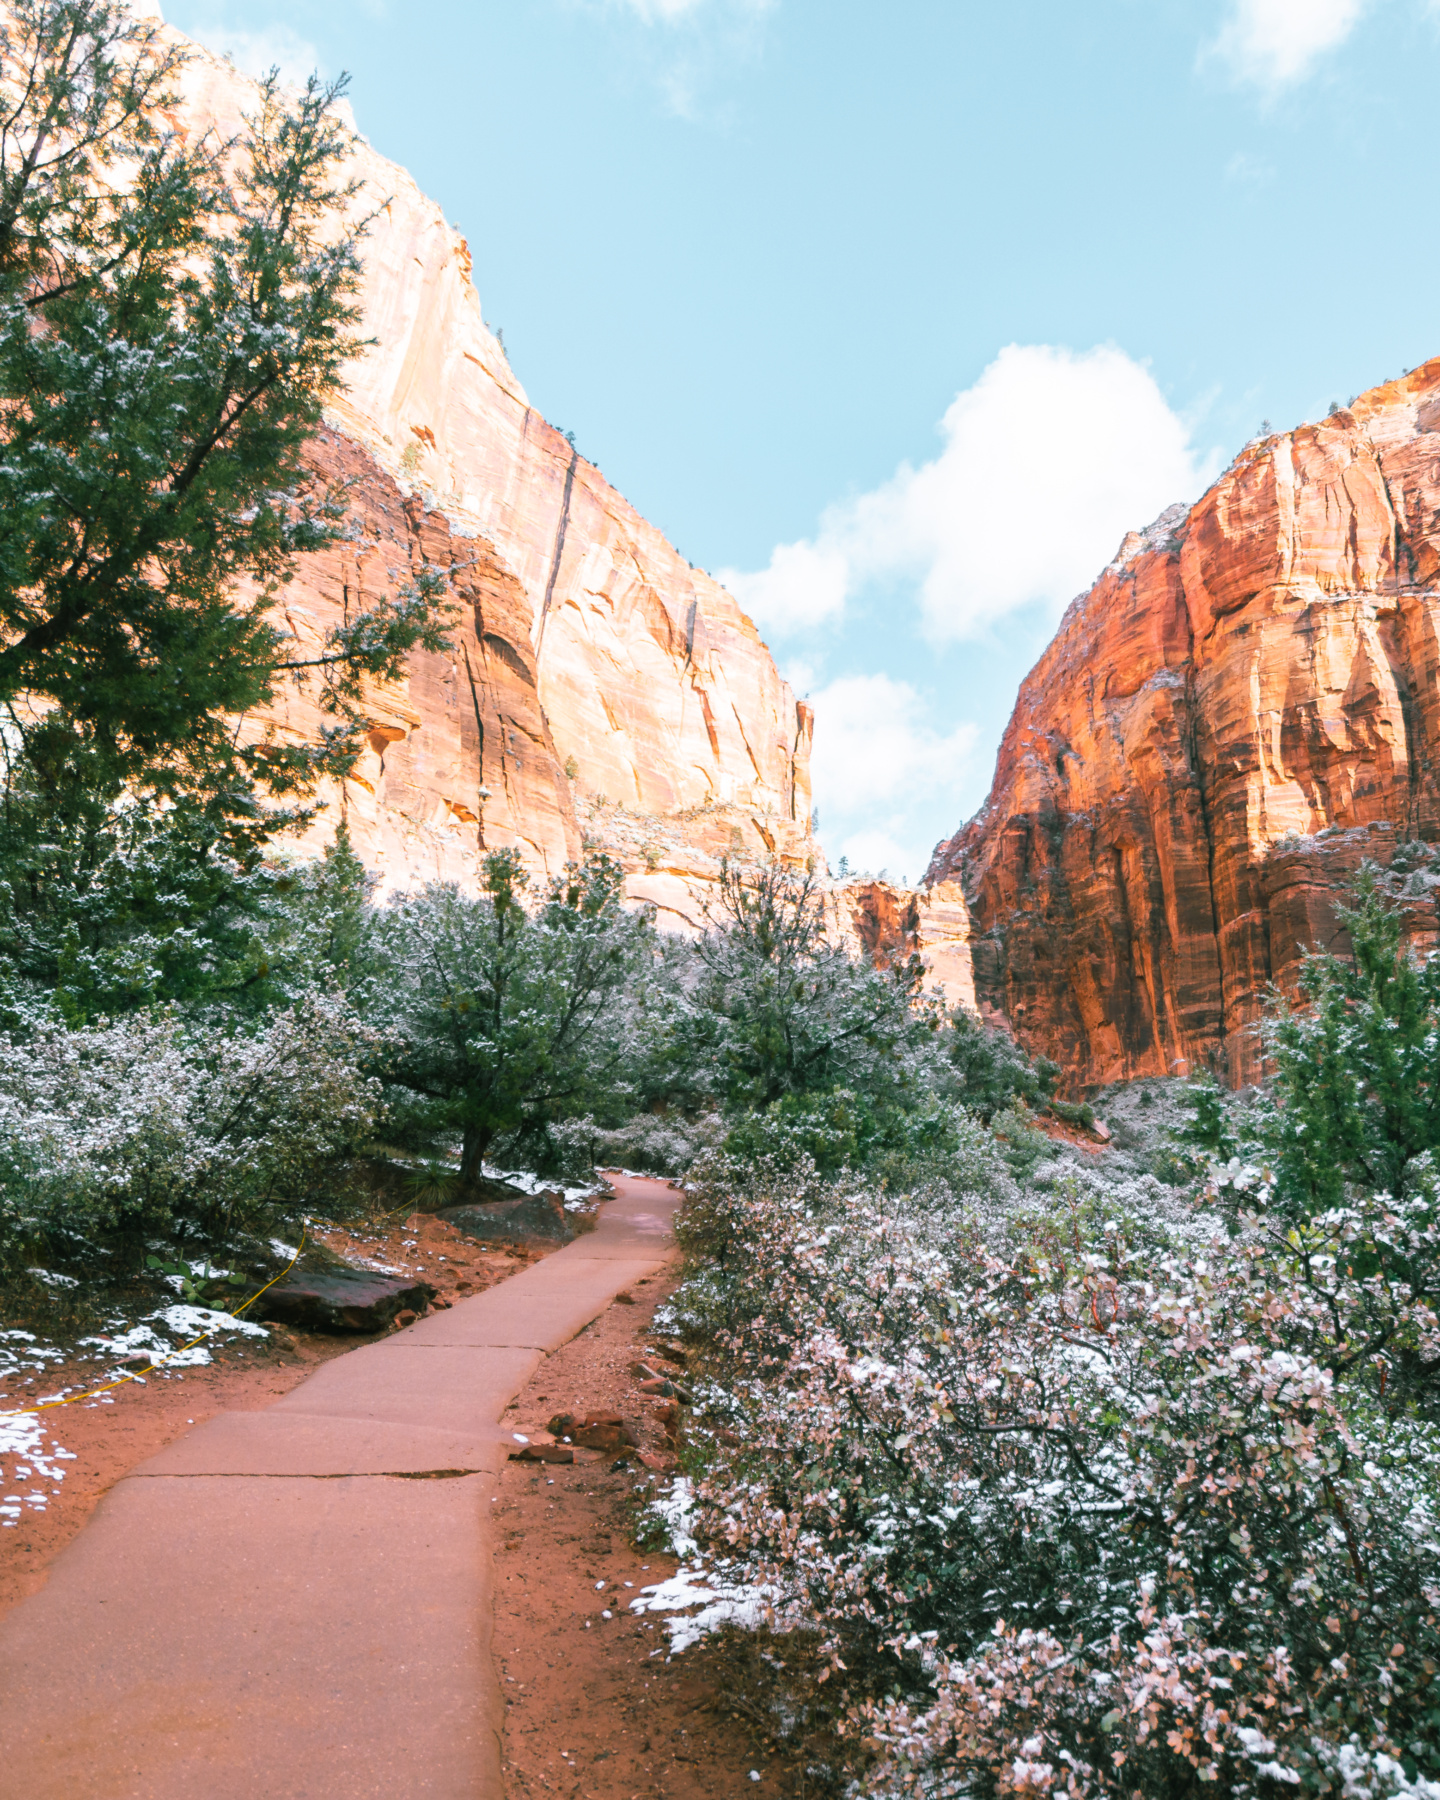
Omg, so Zion National Park holds a very special place in my heart because it’s the first National Park Chase and I have ever been to. We were so excited for our van/hiking trip and had no idea we were about to see Mother Nature working her magic. There are massive red rocks and cliffs surrounding you with every step of the hike you take. We saw snow, sun, running water, and a ton of different plants… that I wasn’t expecting to see in SNOW! Hello, cactus?
When I was reading about Zion, I found out that over 100 years ago Zion was formerly known as Mukuntuweap National Monument, but they changed the name for easier pronunciation. Zion is loaded with history dating back thousands of years and was once home to Native Americans, and later on, the Mormons settled here. This really should be no surprise to anyone considering Utah has the largest population of Mormons.
Chase and I are just two of the four million people who visit Zion each year to take in the stunning cliff views.
Getting to Zion
I know that when we first started planning our USA road trip it was tough to figure out which airport made the most sense?! After doing a little research to plan the most efficient road trip route, we decided flying into Las Vegas would make the most sense. That means we could party it up for a night in Las Vegas and then wake up at the crack of dawn to pick up our Escape Campervan from Las Vegas. Was this the smartest idea? Not sure. Was it an absolute blast? YEP.
Las Vegas is only a two hour 45 minute drive to Zion National Park and the scenery is gorgeous, so it will hardly feel like work!
America the Beautiful Pass
You’ll want to purchase a National Park pass, if you plan on visiting numerous National Parks. It’s $80 for the entire year, valid for all National Parks and you’ll end up saving money in the long run. There are numerous ways to purchase your park pass that can be found here.
Sleep at Zion National Park
You have a few different options as far as lodging goes: Zion National Park lodge, camping, glamping (I would love to do this next!), or sleeping in a van on BLM land (which I talk about here). Be sure to book your sleeping accommodations well in advance – these tend to book up quickly and you will not find something last minute (we learned this). While the lodging looked beautiful and cozy, a full week would have been well over $1,000, which is why we went with the campervan option. We loved this because it allowed us to go at our own leisure.
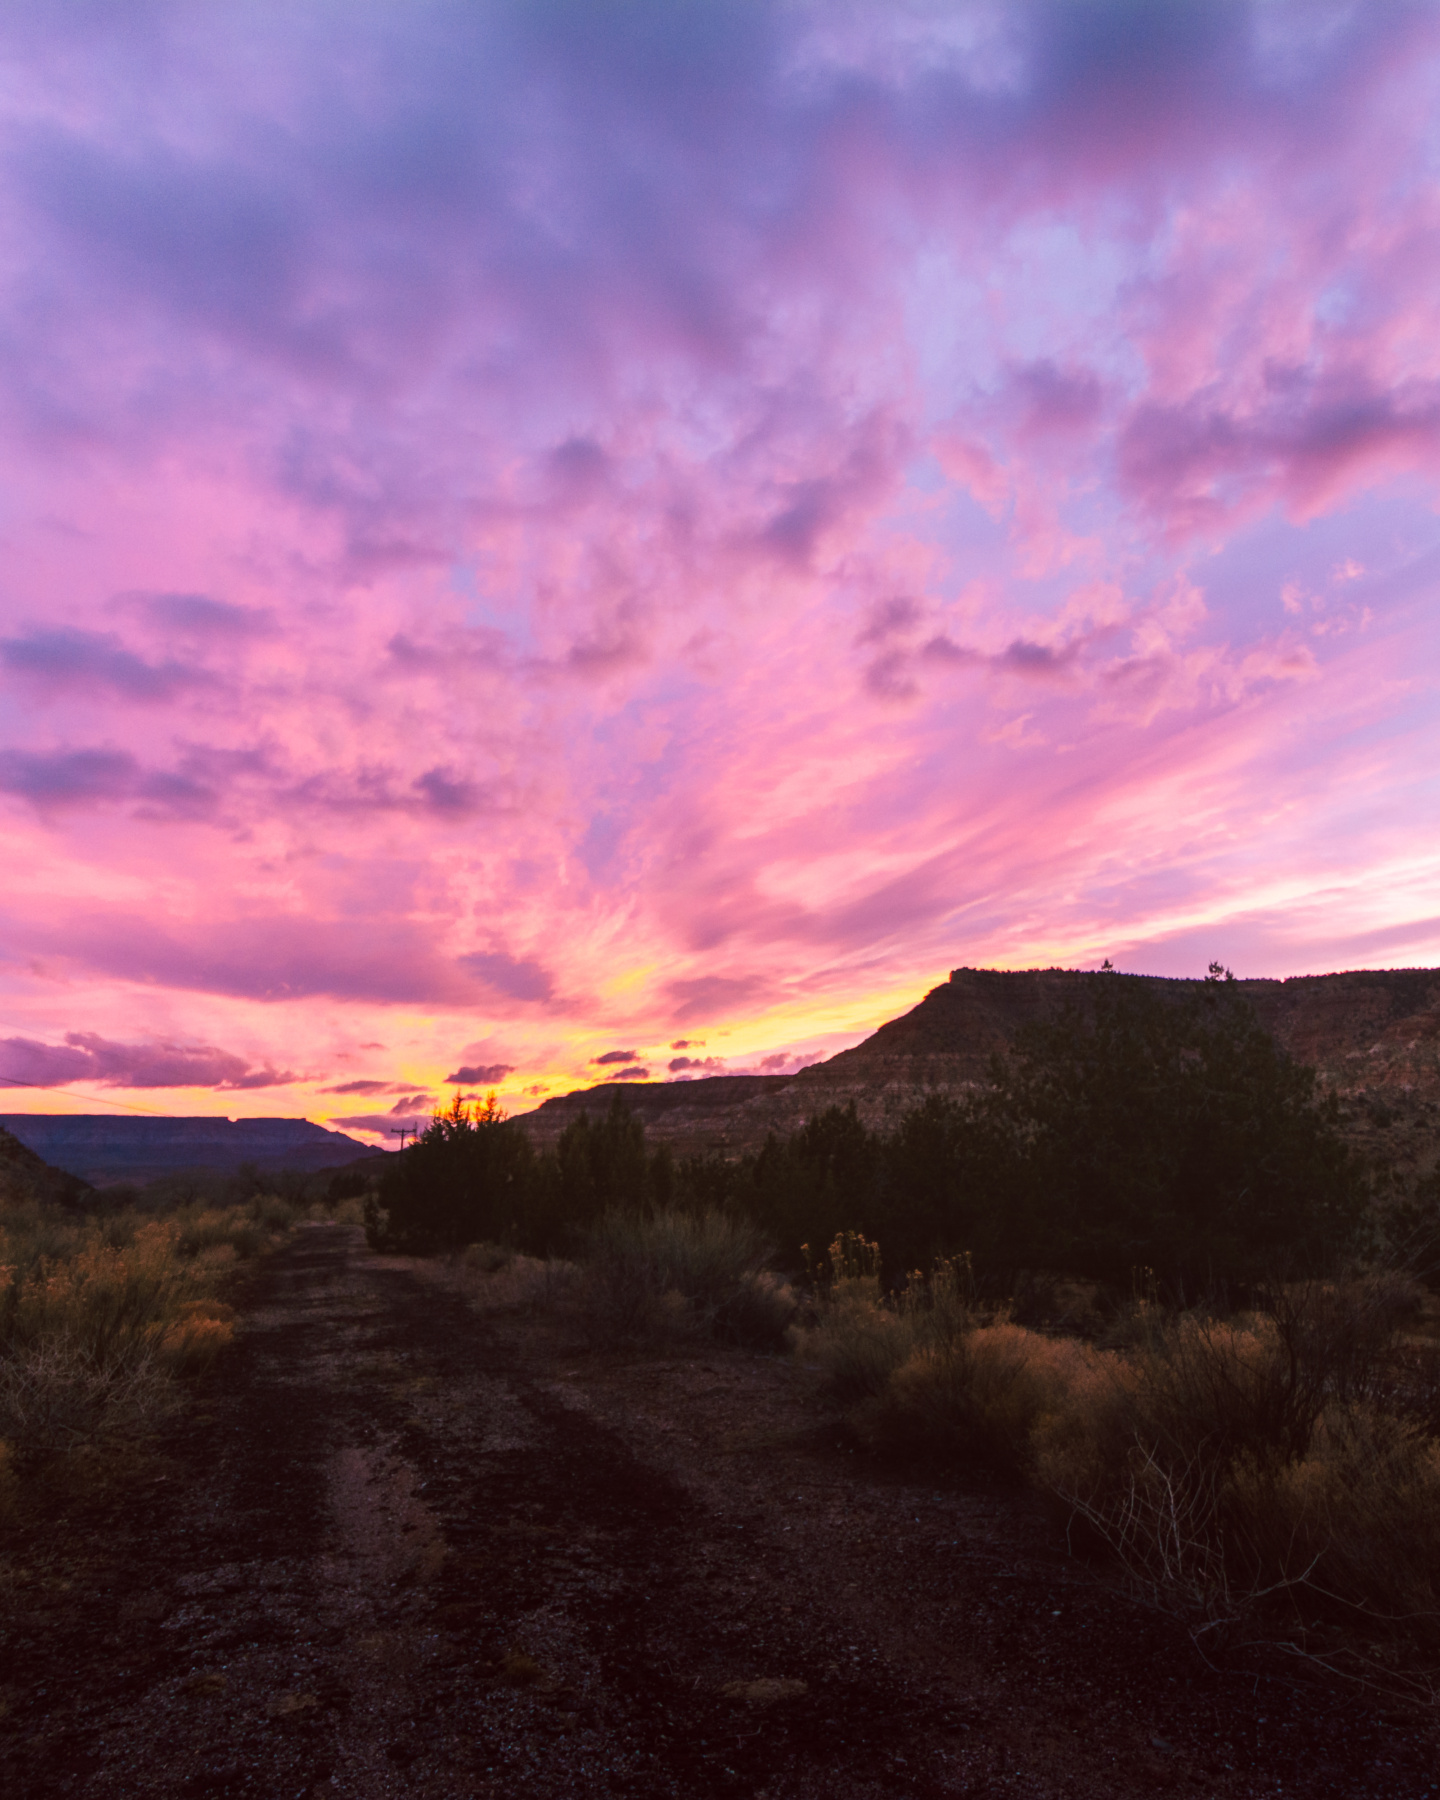
With no campsites available, we drove about eight miles outside of Zion National Park to Kolob Terrace Road to find a place to pull over to sleep. This was such a surreal experience for me and unlike anything I’ve experienced before – there was no people around, no city lights, millions of stars for miles, no cell phone reception, and cows roaming freely. Oh, and the most vibrant sunset.
First Night Sleeping in the Van
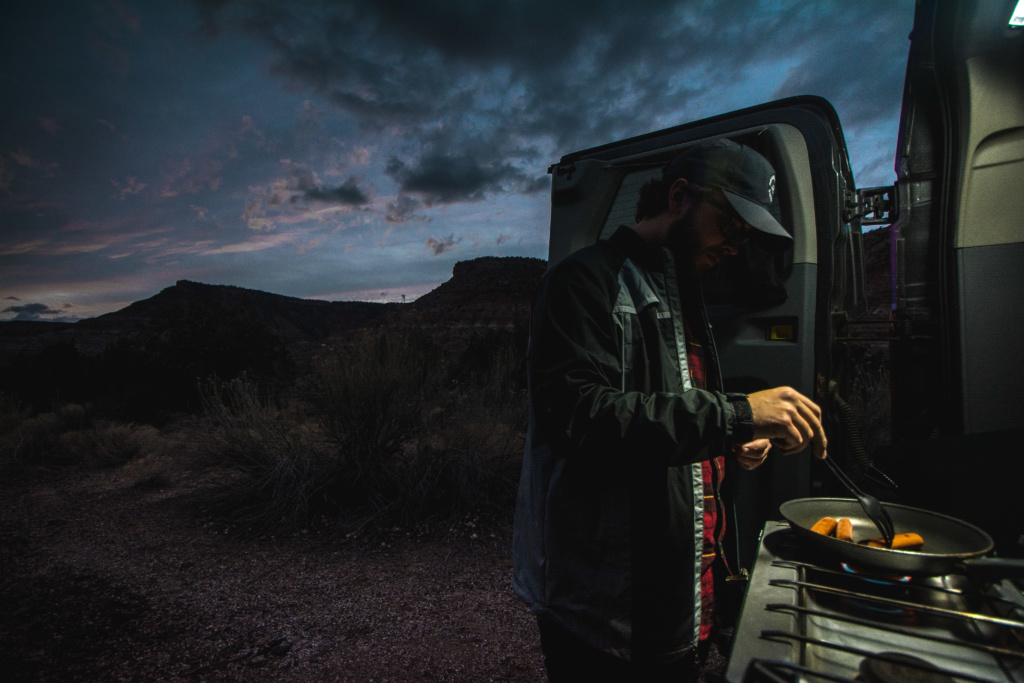
Once we found our camp spot, Chase set up the kitchen and grilled us dinner. I loved eating camp food in the dark with Chase. Simpler times = good times.
Sleeping in a van was a surreal experience to say the least. This was my first time “camping” since I was a little girl, so it was a really fun experience for me. I was a little scared because there were no people around, no city lights, no cell phone reception. Just us, peacefulness, and a million little stars for miles and miles.
The peace eventually left because the roof of the van was being POUNDED by a torrential downpour.
Morning After
Knowing this was our first real hiking day, we woke up giddy as can be. On top of that, we had new neighbors! Five cows hanging around outside our van. That’s one of the best parts about sleeping off the beaten path – you’re truly able to experience nature at it’s finest.
Zion National Park Visitor Center
You’ll need to head to the Visitor Center first to obtain any information (weather conditions, hiking questions, necessities, maps) about the hikes. Additionally, this is where you’ll catch the shuttle to your desired hike. The free shuttle is mandatory and no personal vehicles are allowed to drive through. The shuttle runs frequently, so no worries about waiting around for the next one.
West Rim Trail Hike
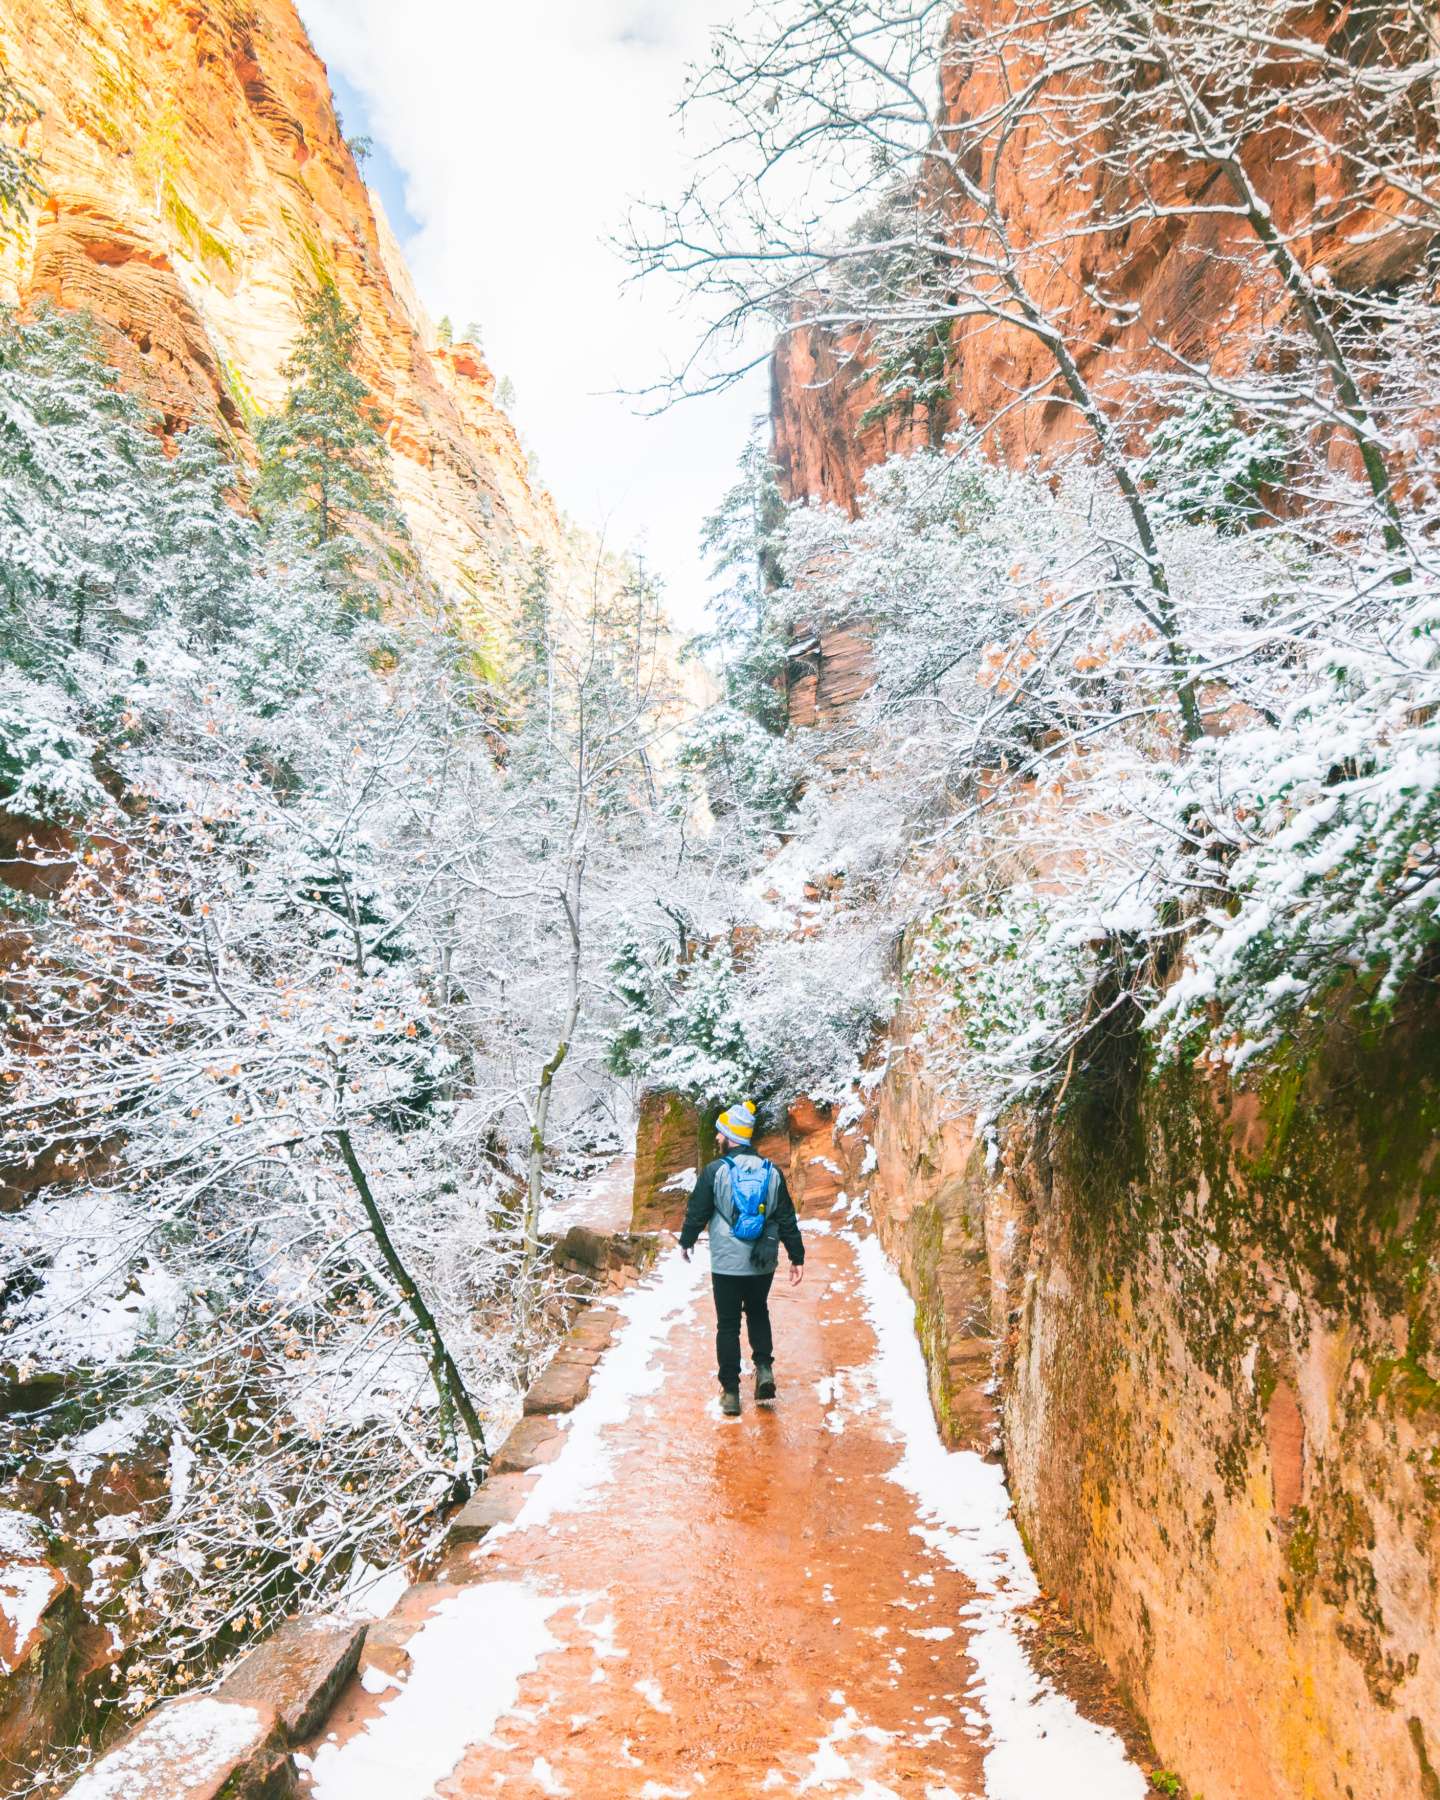
We took the shuttle from Zion’s Visitor Center and were dropped off at The Grotto (stop six) – the entrance to the West Rim Trail that leads to Angel’s Landing. We were unsure if we would hike Angel’s Landing (a well known thrill seeker hike) due to my fear of heights and icy conditions. However, I would still recommend this hike regardless if Angel’s Landing is the goal. Scout Lookout is the stopping point right before Angel’s Landing.
We started our hike towards Scout Lookout around 8:00 in the morning. It didn’t take long before the elevation kicked in, making it difficult to breathe and it felt like my thighs were on fire.
My number one tip for hiking is to take as many breaks as you feel necessary. This was key for us to completing the hike. It’s not a race! I strongly believe mentality is key when hiking as well – remind yourself that you are strong and you can hike a damn mountain. You will feel a hikers ‘high,’ a magical rewarding feeling once you make it to the top. And, it’s mostly free of charge!
Angel’s Landing
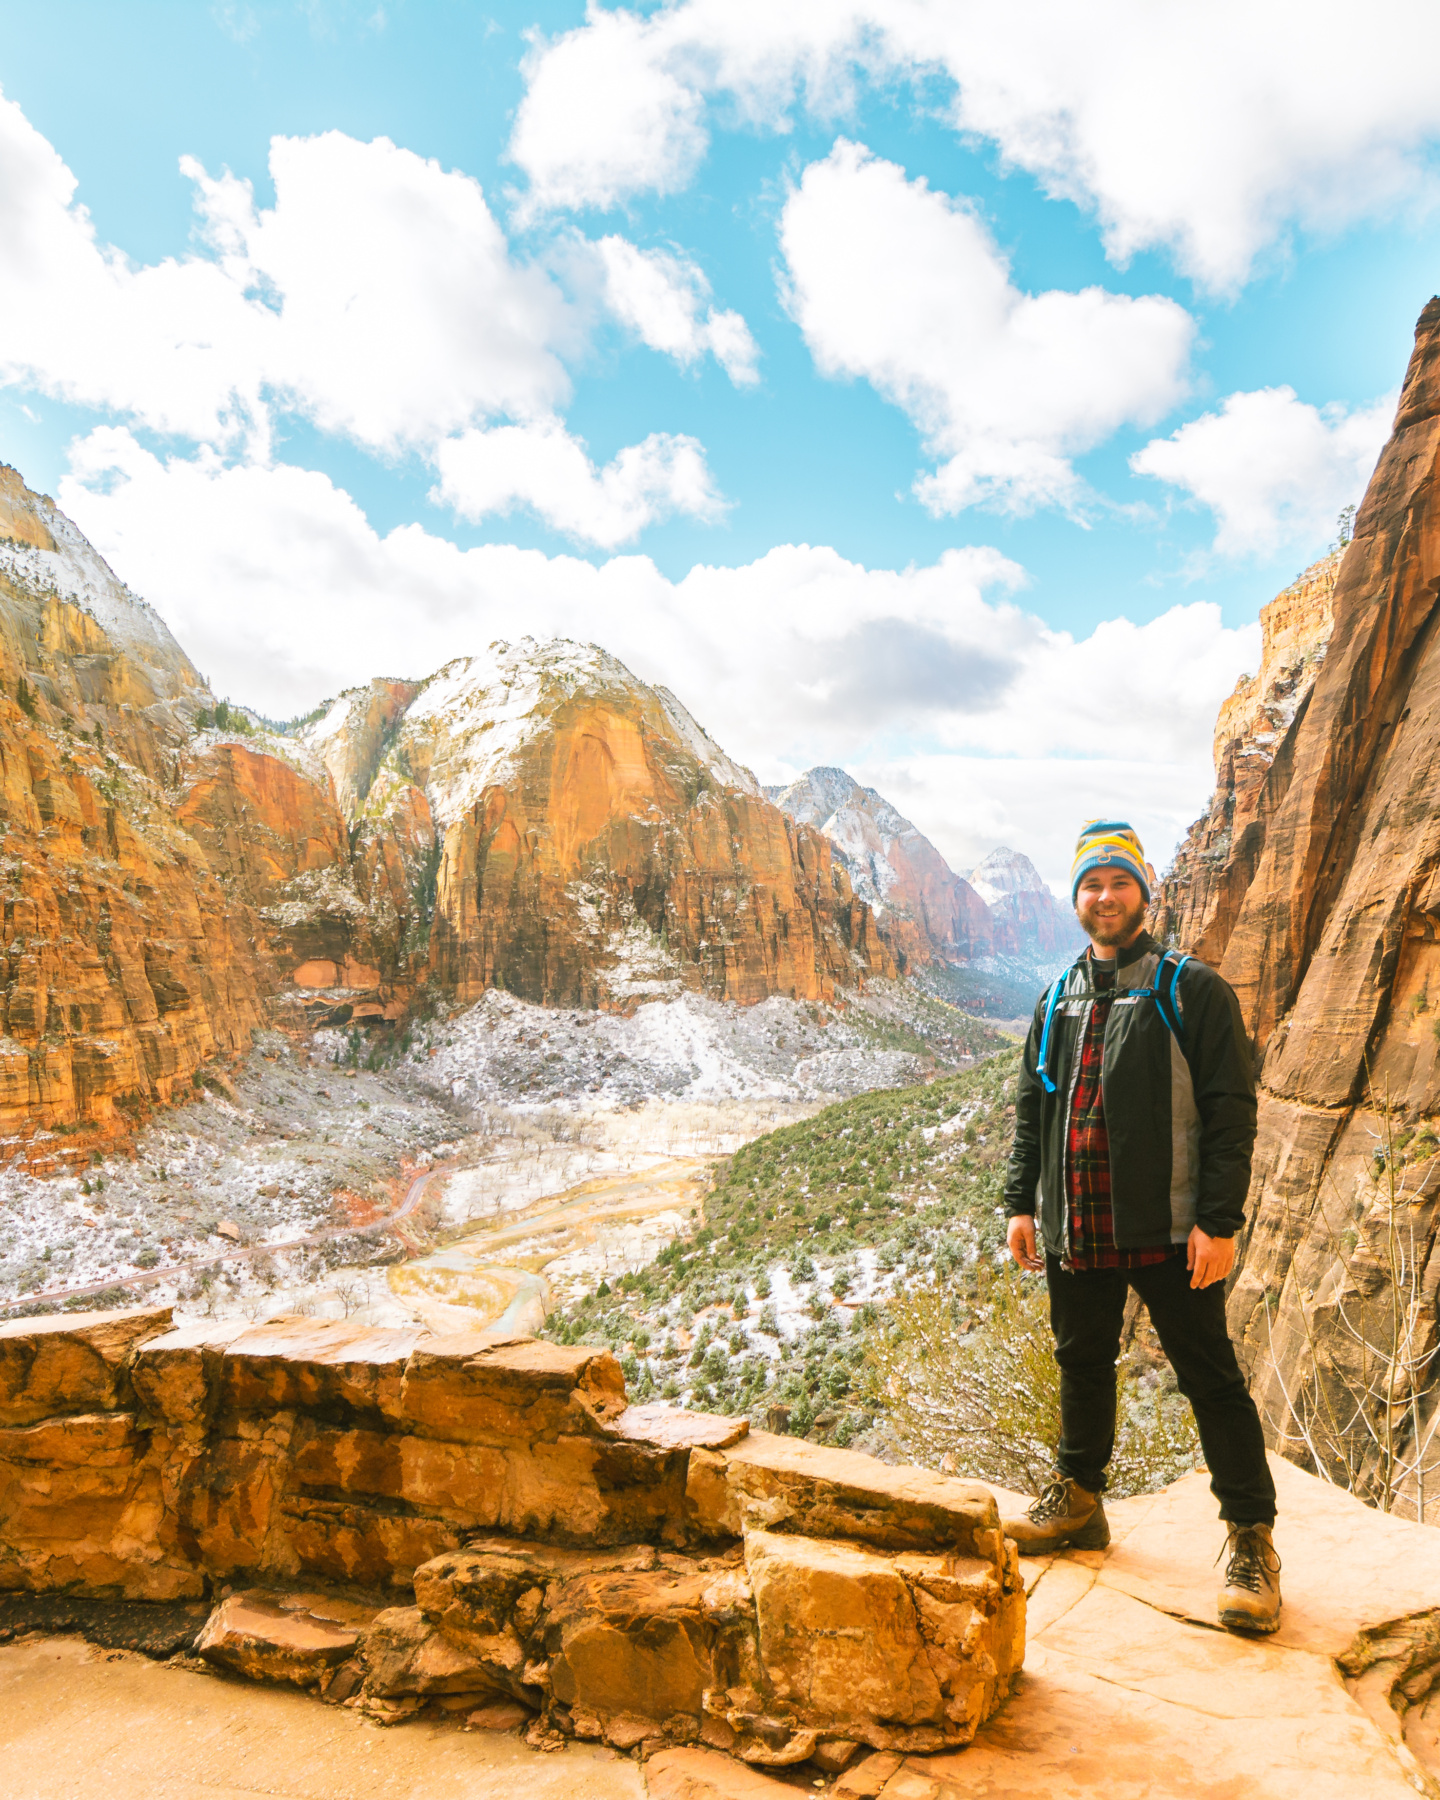
As the shuttle dropped us off at the trail entrance, they let everyone know that people have died on Angel’s Landing (comforting, right?). Hiking is a great way to push yourself out of your comfort zone in numerous ways. For me, it was heights, but I was willing to push myself as much as I could to make this trip well worth it. Unfortunately, we did not hike Angel’s Landing, but I gave it my best shot.
We scaled up the side of the rocks covered in snow and ice with a single chain and stopped on this rock platform. Little did we know, that wasn’t the top – there was way more to go, steeper and scarier. Silly me, thinking that was the top of Angel’s Landing, HAHA. I had to lay down once we made it to the rock platform because I felt like the fear of heights was shutting my body down. We decided to turn back and head to Scout Lookout.
Alternative Hike
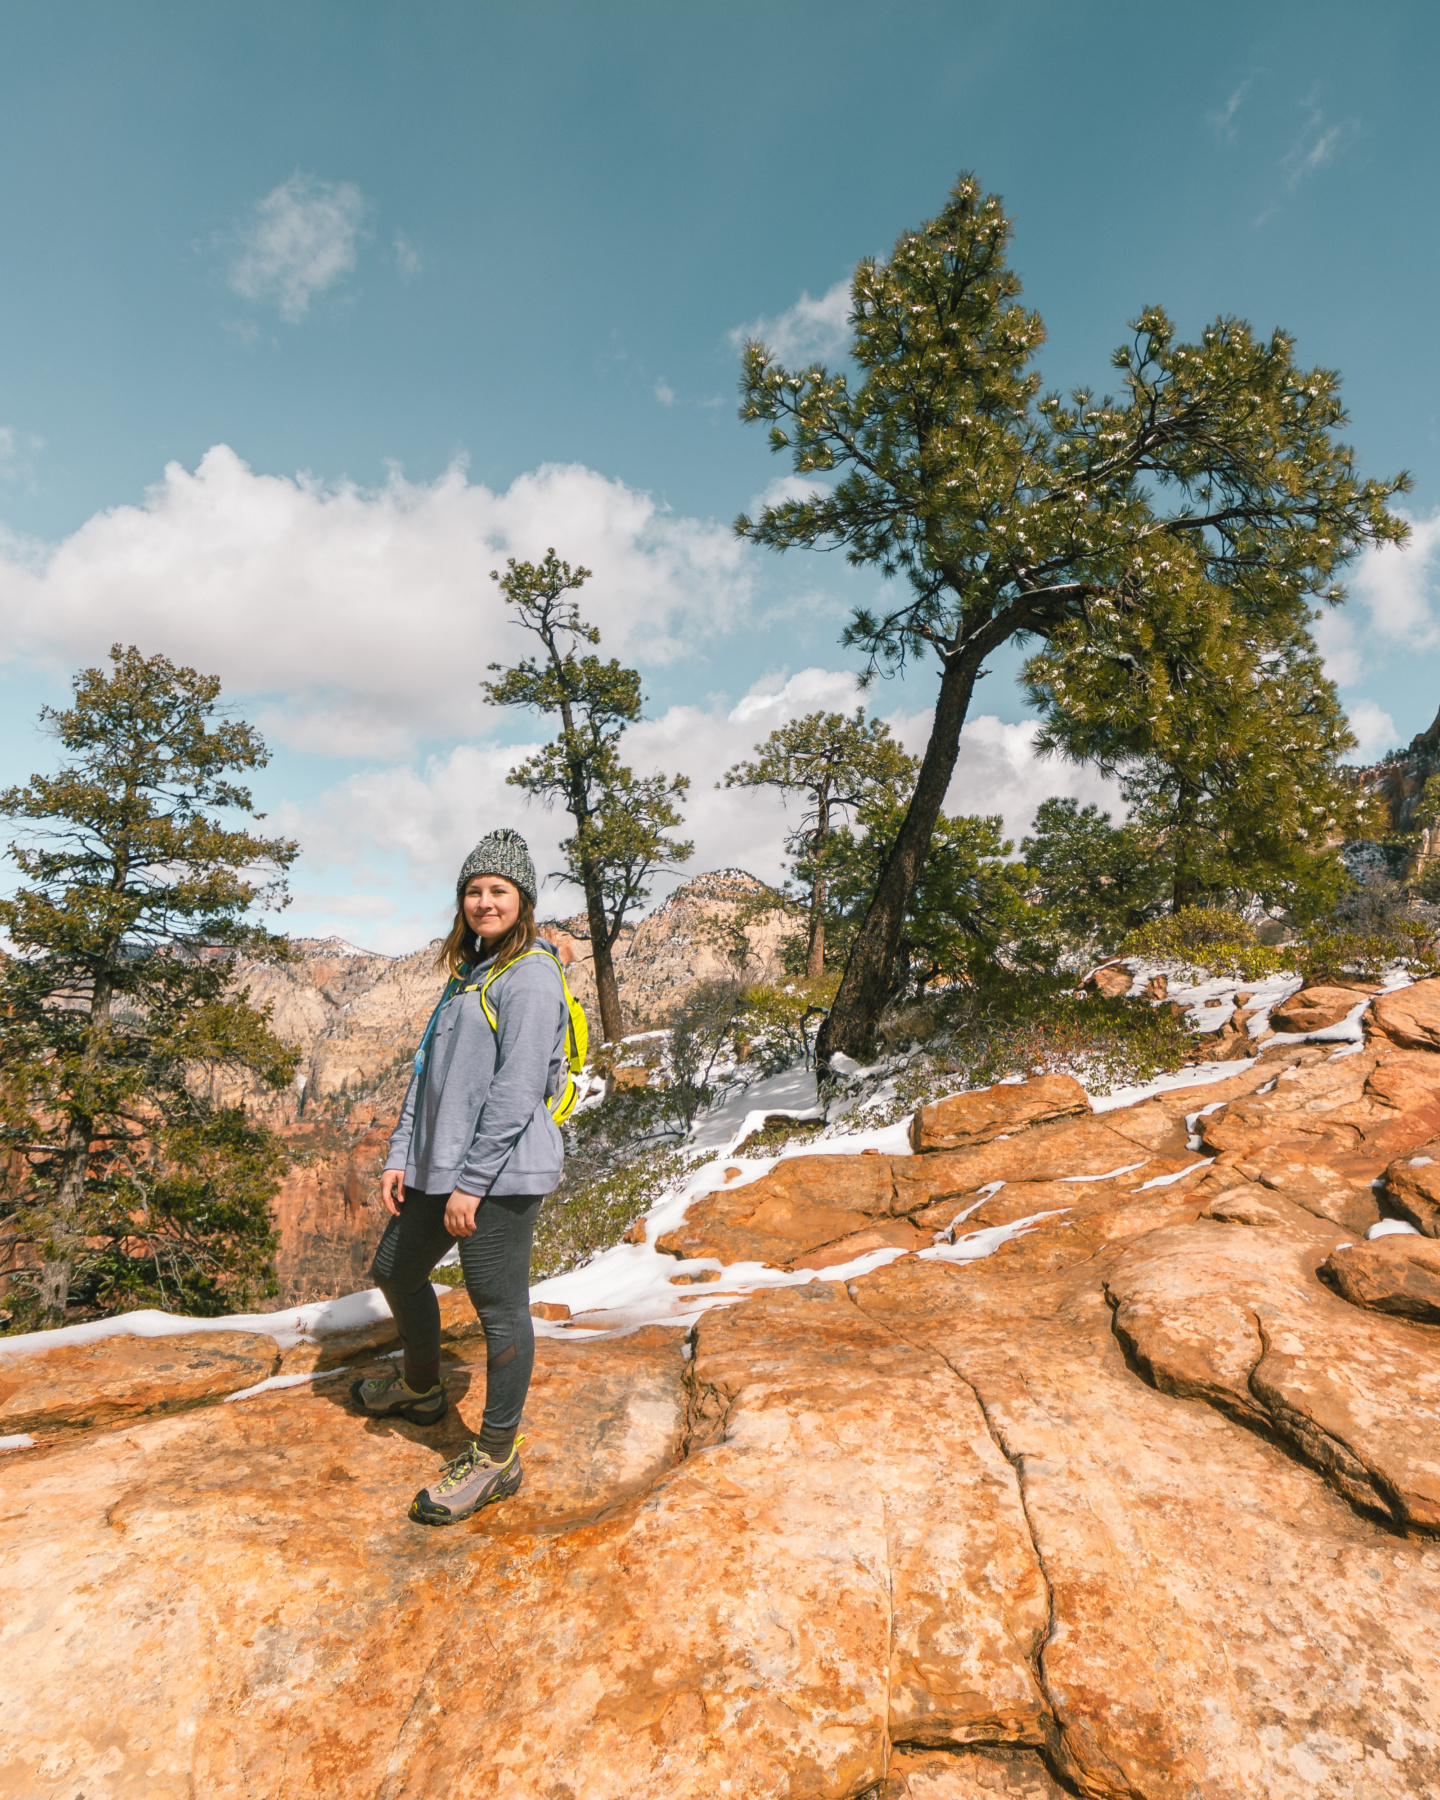
Luckily for us, a trail guide was at Scout Lookout and he directed us to another hike that would bring us to a peak that is taller than Angel’s Landing – the only difference is that it doesn’t have a 1,000 foot drop off on both sides of you. Assume you were going up the trail towards Scout Lookout, instead of heading to the right towards Angel’s Landing, this hike was to the left. We could see Angel’s Landing from where we were… and it actually looked small.
Next Stop: Bryce Canyon!
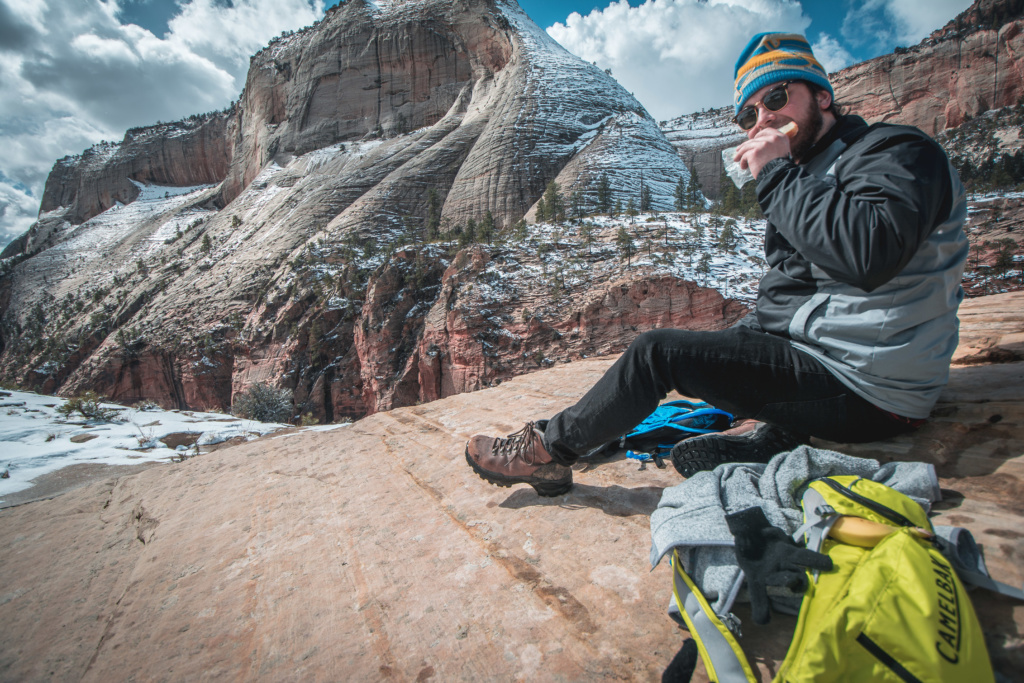
Zion National Park is a must see National Park, which shouldn’t be a surprise… The views are incredible, surrounded by massive red rocks, and you will leave on a high note feeling stronger than ever. Our next stop on our road trip was Bryce Canyon – we headed that way only to find temperatures would be in single digits.
Check out our western road trip itinerary to see where we headed next!


I am SO thrilled you got to do this trip!! Doing it in a camper van is so much cheaper and makes it so much more flexible – if you don’t like one location, you can move on without having to worry about finding another hotel room or cancelling a room you’ve already paid for. Zion looks so different in snow, so pretty! And you are so much brave than I was – I couldn’t get to the top of Angel’s Landing, I felt sick just looking at it. So happy we could meet virtually and share tips!!
Author
I’m so happy we were able to connect too! I feel like I have a lot to thank you for. Ultimately, this trip was life changing for me. And agreed, we loved going at our own pace and leisure. You would not be able to do that with a hotel, and didn’t make it all the way to the top! Sorry if that was misleading, we only made it to the first little tiny section, and like you I felt sick too. I’m so determined to do it though, but I’m just so scared….